Designing a Studio Set for a Branded Photography Campaign
A brand photography studio set design checklist is a structured planning tool that walks you through every decision-from concept and space layout to props, lighting, color, and shoot-day operations-so that every image you capture aligns with a brand's identity. It covers the full process: pre-production alignment, physical set construction, styling details, technical testing, and post-shoot documentation. Whether you're a brand photographer building repeatable workflows, a studio owner managing logistics, a creative team coordinating art direction and styling, or a small business owner producing in-house photo assets, this checklist keeps your vision organized and your budget protected.
Why bother with a structured checklist? Because unplanned sets lead to off-brand images, expensive reshoots, and inconsistent visuals across platforms. A Coresight Research report found that around 41% of brands cite high costs and 36% struggle to produce consistent product visuals as major challenges. A checklist saves time, reduces stress, and creates a repeatable system that keeps your brand photos polished and cohesive season after season.
Here's what this guide covers:
- Planning & designing: Brand alignment, mood boards, studio layout, backdrops, surfaces, lighting design, props, furniture, color strategy, and wardrobe coordination.
- Executing & documenting: Pre-shoot testing, on-set organization, wrap-up procedures, scenario-based templates, and a reusable set design framework.
Why a Studio Set Design Checklist Matters for Brand Photography
One of the biggest mistakes in brand photography is treating set design as something you figure out on the day. Without a plan, you end up with images that look off-brand, props that clash, lighting that shifts between setups, and hours lost to decisions that should have been made a week earlier. The result is wasted budget, reshoots, and a visual library that feels disjointed across your website, social channels, and print materials.
A thorough checklist delivers concrete benefits:
- Ensures every set choice supports brand strategy - values, positioning, and campaign goals are baked into backdrop, prop, and color decisions before anyone picks up a camera.
- Keeps your team aligned on the creative direction, even on multi-day or multi-location shoots where different crew members handle different sets.
- Reduces on-the-day decisions about layouts, lighting, and styling, freeing the photographer and stylist to focus on capturing great images.
- Maintains visual consistency across channels - research shows that 52% of brands use at least seven channels for product visuals, making coherent imagery essential.
- Creates a repeatable system you can reuse and refine for each quarter's brand shoot, building an ever-improving process.
- Correlates with stronger performance - Ipsos found that high-performing ads show brand visual assets 34% more often than low-performing ones.
This checklist can live as a shared Google Doc, a Notion board, or a printed sheet pinned to the studio wall - whatever format keeps it visible and actionable on set.
Pre-Production: Brand & Concept Alignment Checklist
Set design starts long before you move furniture or hang a backdrop. The pre-production phase locks in the concept, visual direction, and storylines that every physical decision will serve. Treat the items below as a clear, scannable checklist - tick each one off before you start planning any physical set.
Clarify Brand Goals & Messaging
Before designing a single scene, answer these questions in writing and share them with every stakeholder:
- Define the primary goal of this shoot - is it a Spring 2027 collection launch, a new service rollout, a website rebrand, or a quarterly content refresh? The goal shapes every downstream choice.
- Identify target audience segments and what they should feel when they see the images: trust, aspiration, comfort, innovation, warmth.
- Note 3–5 core brand adjectives to guide every design choice (e.g., warm, minimal, playful, luxe, earthy). These words anchor material, prop, and color decisions.
- Clarify key platforms the images will be used on - homepage hero, Instagram Reels covers, email headers, print brochures - because each has different aspect ratios and cropping needs.
- List specific deliverables: horizontal banners, vertical social crops, square product detail shots, portrait headshots, lifestyle environmental photos.
- Confirm any non-negotiable brand elements: colors that must appear, logos, product packaging, signature textures, or patterns that define the brand's personality.
Create a Visual Direction: Mood Boards & References
A digital mood board aligns creative direction before a shoot. It translates abstract brand adjectives into tangible visual references that the photographer, stylist, and set builder can all work from.
- Gather 15–30 reference images showing lighting, angles, set density, textures, and styling that match the brand mood.
- Build one master mood board and, if needed, separate mini boards for each scene or product line. A mood board helps communicate your vision for the set to every person involved.
- Include texture references - linen, concrete, glass, greenery - not just finished photos. Textures add visual interest and depth that flat images can't convey.
- Note what to avoid: no busy patterns, no neon colors, no heavy shadows if the brand leans soft and natural. "Don't" references prevent misalignment.
- Share the mood board with client, photographer, stylist, and set builder for sign-off at least 7 days before the shoot, giving enough time to source or swap materials.
Define Storylines & Shot Scenarios
Strong sets are designed around clear "micro-stories." Each storyline corresponds to a distinct set, and defining them in advance ensures you get all the shots you need without redundant builds.
- List 3–6 storylines you need sets for (e.g., founder at work, product in use, behind-the-scenes process, customer success moment, content creation setup).
- For each storyline, note the primary subject (person, product, space) and secondary elements (laptop, coffee, packaging, accessories). Define the concept of your shoot before selecting props.
- Outline the emotional tone for each set - energetic brainstorm, calm morning ritual, confident presentation - so that lighting, props, and wardrobe all match.
- Decide which sets must support motion (video, GIFs) and therefore need wider walkable areas, continuous lighting, and camera movement paths.
Studio Space Planning & Logistics Checklist
Understanding the physical photography studio determines what's realistic for each set. A space that looks perfect on a website listing may have low ceilings, limited power, or no storage - and those constraints directly impact how ambitious your set design can be. The studio should allow for flexible zone separation for varied shooting needs.
Assess the Studio Layout & Infrastructure
- Measure total available shooting area - length, width, and ceiling height. High ceilings are critical for overhead lighting rigs and proper subject capture; aim for at least 3.5–6 meters depending on complexity.
- Note fixed architectural elements you can use: windows, columns, exposed brick, built-in kitchen setups. These can enhance a scene or constrain your layout.
- Confirm power access and circuit limits for continuous lights, monitors, styling tools (steamer, irons). Studios have amp limits, and overloading circuits mid-shoot is a costly disruption.
- Identify storage zones for unused props and products to keep the active set uncluttered. Avoid overcrowding the scene to maintain visual clarity.
- Map out separate areas for hair and makeup, wardrobe, product prep, and client viewing. Client experience and comfort are important aspects of a successful studio design.
Plan Set Zones & Traffic Flow
Efficiency in a commercial space comes from staging multiple sets in different zones rather than building, shooting, and tearing down one at a time.
- Decide how many distinct sets you need vs. how many you can realistically build in the same space.
- Sketch a simple floor plan with labeled zones (e.g., "Desk workspace set," "Lifestyle corner," "Product flat lay station"). Even a rough drawing prevents chaos on shoot day.
- Ensure enough clearance around each set for camera movement, light stands, and C-stands - typically at least 1.5 meters on each side.
- Plan walking paths that avoid dragging cables and trip hazards across active sets. Safety and speed both depend on clear traffic flow.
- Assign one place for all "maybe" props so they don't creep into every scene and add clutter.
Time & Schedule Considerations
Time directly impacts how complex your studio set builds can be. Underestimating setup time is one of the biggest mistakes that derails otherwise well-planned shoots.
- Estimate build and breakdown time for each set, including painting, mounting, or furniture moves. Complex builds with custom walls or plinths can take hours.
- Block a set order that minimizes heavy resets - shoot all seamless-backdrop looks before complex builds, group sets with similar materials together.
- Allocate buffer time between set changes for sweeping, cable re-routing, light adjustments, and fixing details. Allocate at least 2 hours for pre-shoot setup before any talent arrives.
- Confirm building access times, noise limits, and freight elevator availability if renting a studio. These logistics constrain your schedule more than creative ambition does.
Backdrops, Surfaces & Structural Elements Checklist
Backdrop and surface decisions shape the overall look of every image. They signal brand personality - a raw concrete backdrop says something very different from a soft linen drape - and they have practical implications for lighting, reflection, and flexibility across scenes.
Select Backdrop Types & Colors
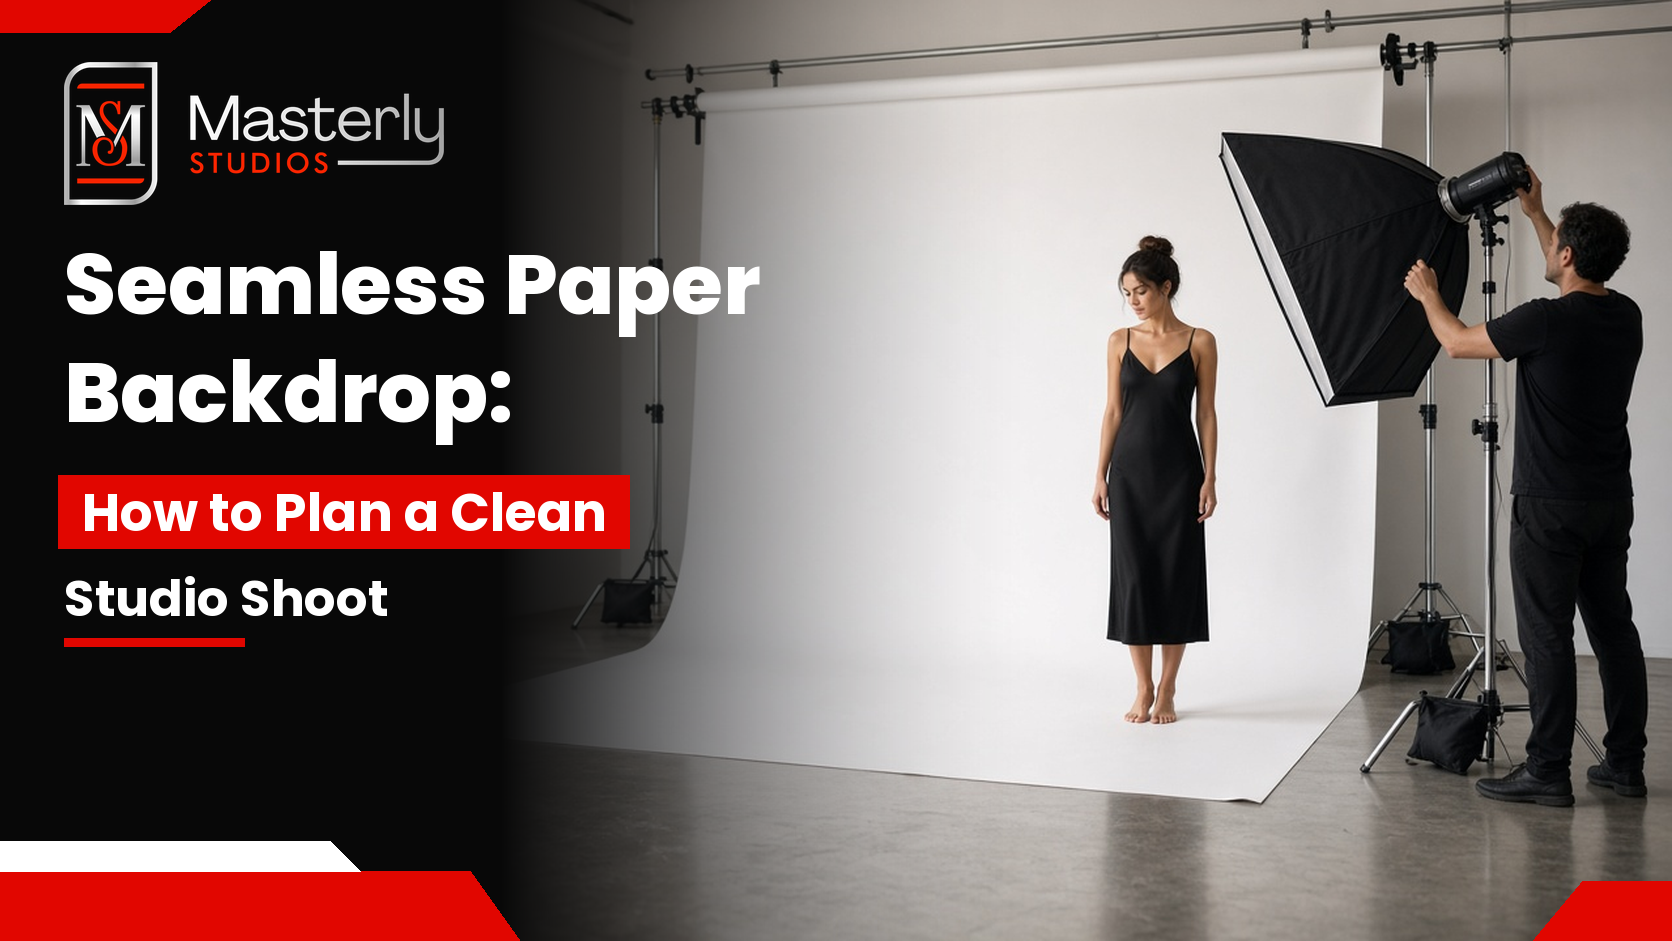
- Choose core backdrop materials: seamless paper rolls are commonly used for creating backdrops in various colors, while painted flats offer durability and custom color. Fabric adds texture but can wrinkle; textured walls or exposed brick provide authentic detail; a cyc wall creates an infinite background for clean commercial looks.
- Align each backdrop color with brand palette - primary, secondary, and accent colors should all be represented across your backdrop range. Choose backdrops that enhance the theme without distraction.
- Plan at least one neutral backdrop (white, warm gray, soft beige) for versatile use. Use neutral backdrops to keep focus on the subject.
- Note when to avoid pure white or black if the brand skews warm, organic, or soft - stark backgrounds can create harsh contrast that fights the mood.
- Confirm mounting method (stand, wall hooks, ceiling system) and run safety checks for each. Heavy paper rolls and flats need secure rigging.
Plan Surfaces for Products & Flat Lays
Surface choices subtly signal quality and category. A marble slab under skincare feels premium; a weathered wood board under artisan food feels handcrafted.
- List surface boards needed: matte white, light oak, poured-concrete look, marble, linen-covered foam - each serves different product photography styles.
- Match surfaces to product category: skincare on stone or ceramic, tech on clean matte, food on wood or linen, jewelry on velvet or textured paper.
- Ensure enough length and width of each surface for wide crops and overhead shots - edges will show in full-frame captures.
- Test for glare and unwanted reflections under studio lights. Reflective or high-sheen surfaces can create hotspots that ruin product shots and need flagging.
Structural Elements & Multi-Dimensional Layers
Adding dimensional elements makes sets feel more lived-in and premium, transforming a flat backdrop into a complete environment with depth.
- Identify any walls, partitions, arches, plinths, or risers needed to add height and depth to the scene.
- Plan repeatable modular pieces - cubes, pedestals, shelves - that can reconfigure between scenes. This approach is cost effective and increases creative flexibility.
- Check stability and weight limits for any raised platforms or furniture used as stages, especially when talent will stand or sit on them.
- Pre-select hanging options (hooks, rods, clamps) for banners, textiles, or signage that add layers and visual interest to backgrounds.
Lighting Design Checklist for Brand-Consistent Images
Lighting is part of set design, not an afterthought. The same set can look warm and inviting or cold and clinical depending on the lighting setup. Consistent, color-accurate lighting is essential for brand photography - it determines how colors render, how textures read, and how the viewer feels.
Define the Lighting Mood
- Decide if the brand feels more like soft, diffused daylight (wellness, home goods, lifestyle) or crisp, contrasty studio light (tech, luxury accessories, fashion shoots). Lighting emphasizes key elements and creates mood.
- Choose color temperature ranges that match brand feel - 5000–5600K for neutral daylight, or warmer 4000–4500K for brands that lean golden and intimate.
- Note any forbidden looks: no harsh midday shadows for a calm wellness brand, no flat shadowless light for a brand that relies on drama and contrast.
- Create a reference diagram for main light, fill, and background light positions for each key set. This becomes your repeatable lighting blueprint.
Natural vs. Artificial Light Planning
Mixing window light with strobes or continuous fixtures can produce beautiful results, but it requires careful planning and backup options.
- Confirm window orientation and typical sun path if shooting in a daylight photo studio. Natural light control can be achieved using dual-layer window treatments - sheer panels to diffuse and blackout layers for complete control.
- Plan backup lighting setups in case of overcast or rapidly changing weather. Never rely solely on windows for a full shoot day.
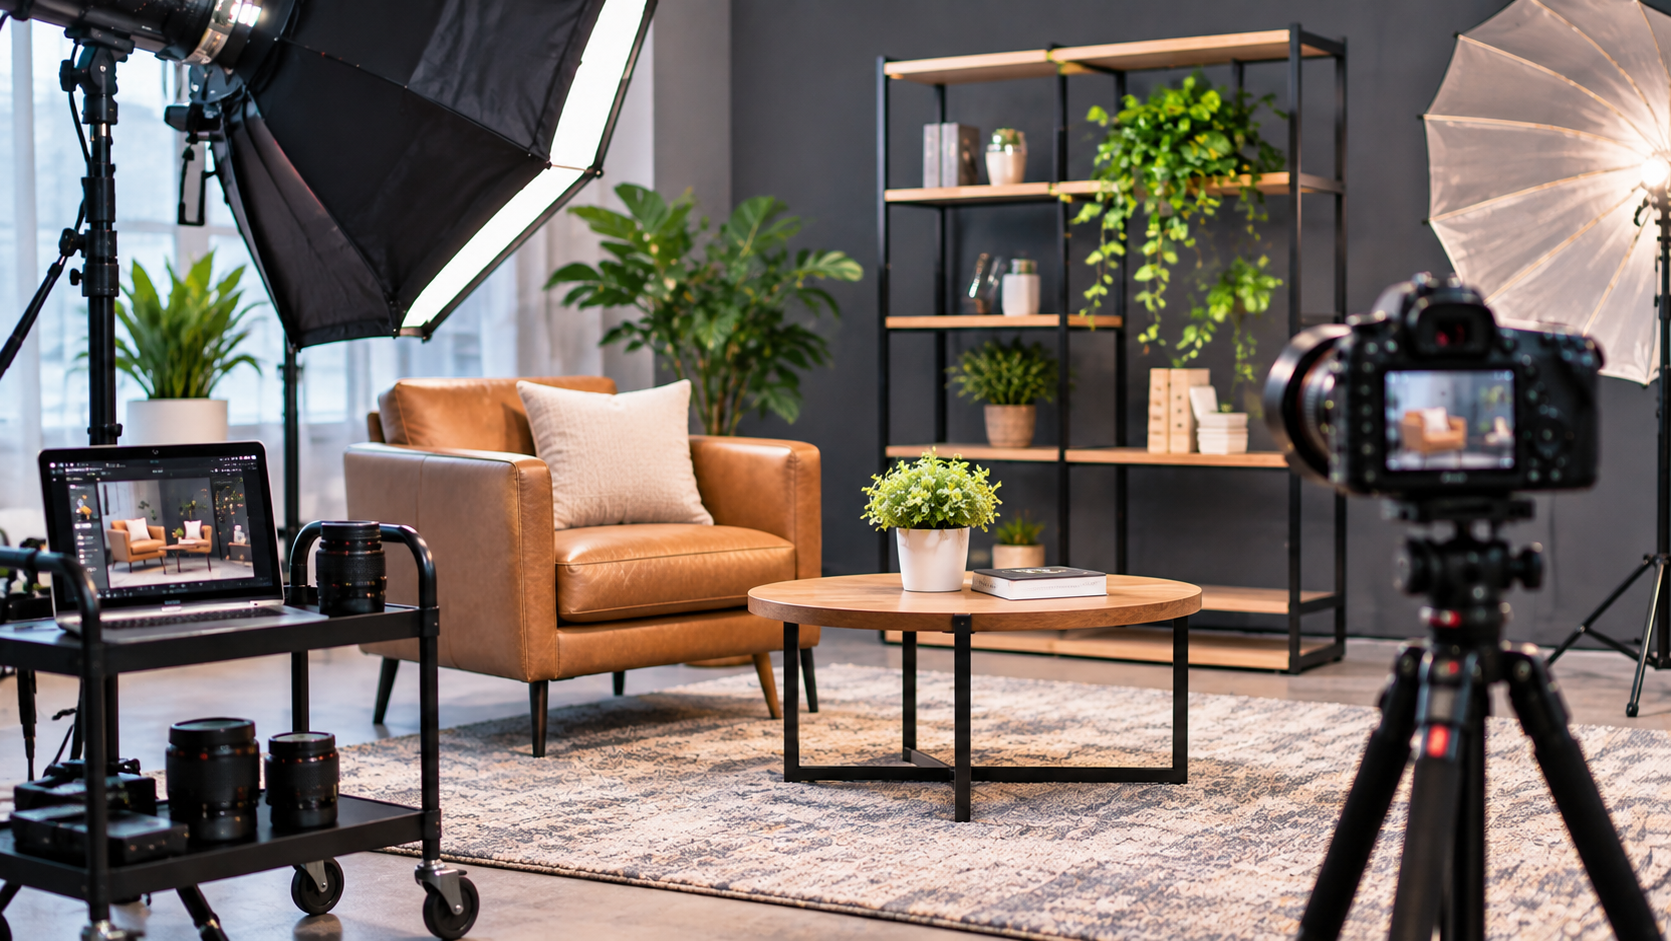
- List all modifiers required: softboxes create soft, diffused light for flattering portraits; diffusion panels soften harsh sources; umbrellas, reflectors, flags, and colored gels can enhance creativity and mood. Note who provides each piece of lighting equipment.
- Note light stands, booms, and grip gear needed for safe, repeatable setups that won't shift between shots.
Control of Shadows, Reflections & Color Casts
- Identify shiny or reflective products (metal, glass, jewelry) that need extra flagging or polarizing filters. These don't respond well to pure diffused light alone.
- Check the studio for unwanted color casts from floors, walls, or large furniture - green walls cast green onto skin, warm wood tones shift product color, brick adds red. Even subtle casts can undermine brand color accuracy.
- Pack black and white foam board or V-flats to sculpt light and control spill. Harsher lighting creates deep shadows for dramatic effects, but only when that's intentional.
- Plan dedicated test shots for each set to check skin tones and product colors before full shooting starts. Lighting setup should reflect natural daylight for realism when the brand calls for it.
Props, Furniture & Styling Elements Checklist
Props enhance storytelling in photography sets - a well-chosen notebook, a steaming mug, or a piece of branded packaging can transform a generic backdrop into a scene with narrative and personality. But too many props can overwhelm the scene. Every item in frame should serve the brand story.
Brand-Appropriate Props
- Create a master prop list grouped by scene (work desk, kitchen, living room, studio, outdoor feel recreated indoors). Props should complement the subject without stealing focus.
- Ensure every prop passes a "brand filter": does its color, shape, material, and era match the brand's values - organic, high-tech, vintage, modern, rustic? Carefully selected props create personal narratives in portraits and add context to editorial shoots.
- Limit hero props per scene to 3–5 key items around the product or subject to avoid distraction. Keep set design simple to avoid overwhelming the viewer.
- Prepare duplicates of small props likely to be misplaced or damaged (mugs, notebooks, packaging, accessories). Running out of a critical prop mid-shoot derails the schedule.
Furniture & Large Elements
Furniture silhouette signals brand identity - sleek modern desks say something different from vintage wooden tables, rustic benches, or corporate chairs. Furniture should be functional and capable of being styled as photography props.
- Select 3–6 foundational pieces (desk, armchair, barstools, side table, sofa, shelving unit) that can move between sets. Incorporate furniture to enhance comfort and style.
- Ensure furniture heights work for flattering posing and camera angles - seats that are too low distort proportions in portrait photography.
- Check that upholstery and finishes complement brand palette and won't moiré or produce visual noise on camera. Fine patterns and certain textures can create distracting artifacts.
- Verify weight and assembly requirements if renting or transporting furniture to the location. Tables, chairs, and shelving need to arrive intact and on time.
Textiles, Plants & Finishing Details
- Choose textiles (throws, cushions, curtains, tablecloths) that add depth and textures without stealing attention. Steam everything thoroughly - wrinkled fabric reads as careless, not casual.
- Decide on real vs. faux greenery and flowers, matching the brand's stance on sustainability and authenticity. Real plants bring life but have natural variation; faux are more predictable in color and form.
- Prepare styling kits: tape, clamps, pins, scissors, lint rollers, steamer - these tools are essential for last-minute adjustments that keep every frame polished.
- List small finishing details that repeat subtly across sets - a signature mug, branded notebook, or recognizable pattern. These continuity elements tie a range of different scenes together into a cohesive brand library.
Color Strategy & Brand Consistency Checklist
Color directly influences the mood of your photos. A deliberate color strategy across sets ensures that images from different scenes, days, or even different photographers still feel unmistakably like the same brand.
Translate Brand Palette into the Set
- List brand primary, secondary, and accent colors with exact Hex, RGB, and CMYK values. These codes are your objective reference - not "sort of teal" but the specific shade on the brand guide.
- Decide how each color appears in the set: walls, props, wardrobe, product packaging, backgrounds. Not every color needs to appear in every frame, but the overall palette should be recognizable.
- Set a rough color ratio per scene: e.g., 70% neutral background, 20% brand primary, 10% accent. This prevents any single color from dominating and keeps composition balanced.
- Plan continuity elements - the same accent pillow, a recurring plant, or a repeated texture - tying different sets together visually. Openhouse built a neutral background system to allow diverse products to feel cohesive, using repeating elements as connective tissue.
Avoiding Color Clashes & Overload
- Check for clashes between wardrobe colors, set decor, and product packaging. What looks fine individually can fight for attention when combined in a single frame.
- Limit strong accent colors to a few small areas within the composition - a stack of books, a single pillow, a piece of jewelry.
- Test key combinations with quick phone snapshots in similar lighting before shoot day. This five-minute step prevents hours of on-set problem-solving.
- Confirm that text overlays planned for marketing materials won't clash with set colors - if social graphics need white text, avoid bright white backgrounds.
Wardrobe & Talent Interaction With the Set
Talent clothing and movement should be planned alongside set design, not treated as a separate process. What someone wears, how they sit, and where they walk directly affects whether the set reads as intended.
Wardrobe–Set Coordination
- Prepare a wardrobe color guide aligned with the chosen backdrop and prop palette. Each outfit should complement the set's overall look.
- Avoid outfits that disappear into the background unless you're intentionally creating a monochromatic or tonal effect. Wardrobe needs enough contrast to separate talent from the scene.
- Plan 2–3 outfit changes per talent that work across multiple sets - this reduces wardrobe transport and prep time while giving variety in the final images.
- Flag any fabrics likely to wrinkle or reflect light poorly (satin, certain synthetics) and plan steaming time. Fashion shoots especially demand flawless fabric.
How Talent Uses the Space
- Identify key actions talent should perform in each set: typing, pouring coffee, packing orders, presenting on a laptop, interacting with product. Movement brings life to lifestyle images.
- Arrange furniture for natural body positions that flatter posture and face angles - chairs at the right height, tables positioned for comfortable reach.
- Ensure clear, safe paths around cables and stands for walking shots. Talent shouldn't have to think about where to step.
- Pre-visualize framing for both close-up detail shots and wide environmental portraits. The set needs to work at every focal length you plan to capture.
Technical & Practical Shoot-Day Checklist
Great set design can fail without technical readiness. This section is formatted as a pure checklist you can print and bring to the studio on shoot day.
Pre-Shoot Setup & Testing
- Arrive early - allocate at least 2 hours for pre-shoot setup to build the first set fully before any talent arrives.
- Run camera and lighting tests on each set, checking exposure, color balance, shadows, and reflections. A professional brand photography studio needs an efficient digital workflow, ideally with tethered shooting.
- Shoot reference frames that match your mood board and adjust props, backdrops, and lighting accordingly. Compare real frames to inspiration images side by side.
- Load test images onto a larger screen or tethered laptop to confirm details - small LCD screens hide color casts, focus errors, and stray elements.
On-Set Organization & Resetting
- Assign one person as set lead responsible for prop placement continuity between shots. This prevents subtle shifts that create inconsistency across a series.
- Keep labeled bins for each set's props to speed up transitions. Knowing exactly where every item lives saves time and stress.
- Capture overhead or phone snapshots of final layouts before moving anything - these reference photos are invaluable for continuity and future shoots.
- Build in micro-breaks to tidy surfaces, remove stray fingerprints, fix fabrics, and confirm that details remain correct. Acoustic panels can be installed to eliminate echo during shoots that include video or audio.
End-of-Day Wrap & Documentation
- Photograph each completed set clearly for future reference and reuse - not just hero shots but full layouts from multiple angles.
- Note any set elements that worked especially well or poorly for post-project review. These lessons feed directly into the next shoot's checklist.
- Pack props and furniture systematically for easy use in the next brand shoot. Standardized packing prevents damage and lost items.
- Ensure studio is reset to rental conditions if applicable - backdrops removed, paint touched up, floors cleaned, all materials cleared.
Sample Brand Photography Studio Set Checklists (By Scenario)
The master checklist above adapts to different shoot types. Below are three common scenarios with high-level bullet points showing how to adjust your focus, ideas, and priorities for each project.
Product Launch in a Studio
- Hero product pedestal set with a clean backdrop and directional light, designed to capture the product as the absolute focus.
- Detail-oriented flat lay station with coordinated surfaces and small props - materials matched to brand palette for consistency across the complete product range.
- Packaging and unboxing set with brand-colored paper, ribbons, and shipping materials. Simple Body, a skincare brand, produced 2,500+ images over 16 months across 75 products by maintaining a consistent setup that reduced reshoots and retouch time.
Founder & Team Branding Session
- Desk or co-working style set with laptops, notebooks, and wall boards - designed around natural movement and candid interaction.
- Lounge set for casual team interaction shots with a sofa, side table, and warm textiles that show company culture and personality.
- Simple headshot corner with consistent lighting for all team members, ensuring uniformity across the website and marketing materials.
Service-Based Brand Lifestyle Shoot
- Client consultation "table" set for laptop, notebooks, and printed materials - the room should feel professional yet approachable.
- Process or behind-the-scenes set showing the service in action, with enough space for talent to move naturally.
- Content creation set (camera, microphone, phone, light) for coaches and creatives who need photos showing their work environment.
Putting It All Together: Your Reusable Set Design Template
Each section of this checklist - from brand alignment through wrap-up documentation - forms one complete brand photography studio set design checklist. Together, they give you a system that covers concept, space, materials, lighting, styling, color, wardrobe, and execution in a logical sequence. The goal isn't a one-time document but a living template you update and improve after every shoot.
Turn these headings into a reusable document that travels with you - a printable PDF, a Notion board, a Google Doc, or a physical studio binder:
- Group tasks by timeline: 2–4 weeks before (concept, mood boards, prop sourcing), 1 week before (sign-offs, studio confirmation, test swatches), day before (pre-build, equipment check), shoot day (setup, testing, shooting, resetting), and wrap-up (documentation, packing, review).
- Leave space for notes, vendor contacts, paint color codes, fabric swatches, and prop sources. The details you capture now make the next project faster.
- Update the checklist after each shoot with lessons learned - what worked, what fell flat, what you'd change. Amway evolved their photography from staged corporate to vibrant lifestyle while maintaining global consistency, and that kind of evolution comes from treating each shoot as a learning cycle.
Frequently Asked Questions
1. What details should be confirmed before booking a studio?
Before booking, confirm the available room, rental duration, equipment inclusions, crew size limits, permitted props, set restrictions, access arrangements, and pricing.
For a branded campaign, also discuss the planned visual concept and whether the studio can accommodate the required set changes.
Masterly Studios can review these details during the rental inquiry.
2. How should a production schedule and equipment list be shared?
Provide a written project brief with the preferred date, estimated setup time, shooting schedule, participant count, planned set changes, and required equipment.
Include reference images and descriptions of any special props or installations.
The studio can use this information to discuss suitable space, resources, and booking arrangements.
Discuss Your Atlanta Studio Rental or Production Requirements
Your branded photography campaign deserves a professional environment that supports its creative direction and production goals.
Whether you are planning a product launch, corporate brand refresh, fashion campaign, or marketing content session, the right studio setup begins with clear requirements.
Masterly Studios offers Atlanta photography studio rental and production facilities for brands and creative teams seeking professional space and equipment.
If you are developing a brand photography studio set design checklist for an upcoming campaign, contact our team to discuss your concept, preferred dates, equipment needs, and production scope.
Masterly Studios
Website: https://www.masterlystudios.com/
Atlanta Studio: 2135 Liddell Dr NE, Atlanta, GA 30324
Phone: (404) 726-7261
Email: info@masterlystudios.com
Contact Masterly Studios with your campaign brief, visual references, proposed production schedule, and estimated crew size to discuss available rental and production options.